
The complete guide to playing on wine glasses, making a glass harp and recording your sounds with a hydrophone.
What we are going to cover here:
- What is a Glass Harp
- How to Pick the Right Wine Glasses
- Assembly of a Glass Harp
- Choosing a melody Tuning the Glass Harp
- Physics behind the Sound
- Recording the Sounds with a Hydrophone
- The Most Important thing
What is a Glass Harp?
Playing wine glasses, also known as glass harp or glass armonica, is a mesmerizing and elegant musical technique that transcends the conventional boundaries of instrumentation. It harnesses the delicate physics of glass and water to create hauntingly beautiful melodies, evoking a sense of ethereal wonder and enchantment. This unique practice traces its roots back centuries, where it found its place among both the aristocratic parlors of Europe and the spiritual rituals of diverse cultures.
At its core, playing wine glasses is a delicate dance between human touch and the resonant properties of glass. By carefully selecting glasses of different sizes and shapes, each filled with precise amounts of water, musicians orchestrate a symphony of tones that ripple through the air with crystalline clarity. As fingers glide along the rims of these vessels, friction is transformed into sound, each note emerging like a shimmering gem suspended in time.
How to Pick the Right Wine Glasses
Glasses suitable for playing in a glass harp ensemble or solo performance come in various shapes and sizes, each contributing its unique timbre to the ensemble’s sound palette. Here’s a brief overview of the types of glasses commonly used:
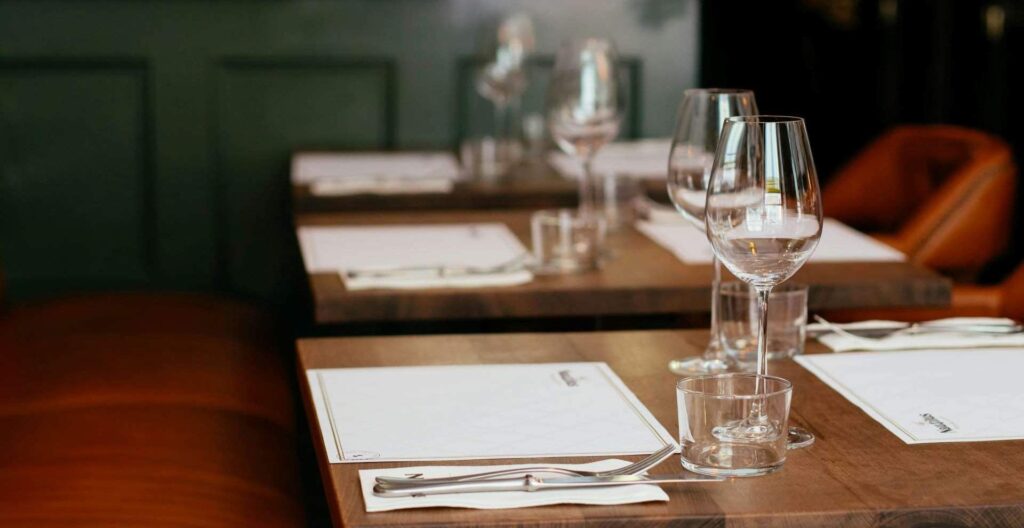
Wine Glasses
These are the most used glasses for playing due to their uniform shape and availability. Wine glasses typically have a rounded bowl shape, which allows for a smooth, consistent sound when the rim is rubbed. Different sizes of wine glasses produce different pitches, with larger glasses producing lower pitches and smaller glasses producing higher pitches.
Crystal Glasses
Crystal glasses are prized for their clarity and resonance, making them popular choices for professional glass harp performers. The high-quality crystal material enhances the purity and richness of the sound produced, adding a touch of elegance to the performance.
Water Goblets
Like wine glasses, water goblets have a rounded bowl shape and are often used interchangeably in glass harp ensembles. They come in various sizes and thicknesses, offering a range of tones and textures to explore in musical compositions.
Wine Glasses
Champagne flutes have a long, narrow shape, which produces a unique, flute-like sound when the rim is rubbed. While less commonly used than wine glasses or water goblets, champagne flutes can add a distinctive sparkle to glass harp performances, particularly in higher registers.
Custom Glass Instruments
In addition to traditional glassware, some performers use custom-made glass instruments specifically designed for playing. These instruments may feature unconventional shapes, sizes, or materials, allowing for experimentation with new sounds and textures in glass harp music.
Ultimately, the suitability of a glass for playing depends on its resonant properties, clarity, and the preferences of the performer. Experimentation with different types of glasses can lead to exciting discoveries and innovations in glass harp music, showcasing the versatility and creativity of this unique musical art form.
Glass Harp Assembly
Assembling a glass harp, or musical glasses, takes some careful steps to get it just right. Start by gathering all you need: A small pitcher, at least 4 glasses as it is harder to find a melody with less notes, the same number of hydrophones as glasses to record each note, a sound mixer to combine all recording channels to one, something sturdy to hold the glasses like a wooden plank, and some kind of tape and a double-sided tape to make sure they are safe and secured.
After you have got everything, you must start planning your location.
To find the perfect spot for your glass harp adventures, think about a few things. You’ll want a place with plenty of light, so you can see your glasses sparkle and shine. Make sure it’s steady and flat, so your glasses don’t go sliding around while you’re playing. Find a place with enough space that can fit your station. Think about how the room sounds too – big rooms with hard floors make your music echo beautifully. Avoid noisy spots where you might get distracted, and make sure it’s a comfy place where you can relax and enjoy your music-making journey.
When you feel comfortable with the place you chose, you are ready to assembly your station.
Start by placing the glasses on your chosen surface, we got a wooden plank. Carefully start putting a double-sided tape on your surface and sticking your glasses on it, one by one stick the glasses to the surface and make sure they don’t peel off. Then you need to tape it again with regular tape to make sure it doesn’t move while you play. If you are an expert, it’s not that important but as beginners, we like everything to be as care-free as possible.
Choosing a melody
Selecting a melody for a glass harp involves considering the instrument’s unique capabilities and limitations. Begin by choosing a melody with clear, distinct notes that can be easily replicated on individual glasses. Simple melodies with recognizable intervals work best, as the glass harp’s sound relies on the resonance of each glass. Keep in mind that slower tempos allow for smoother transitions between notes and are generally easier to replicate as a beginner, while faster tempos may require more dexterity and control and they are pretty hard to execute.
Additionally, consider the goal you are trying to achieve, if you are trying to create an atmospheric sound for a movie or a game it’s usually better to use pick the lower pitch melodies while to make a more optimistic environment sounds you should totally use higher pitches. Ultimately, choose a melody that showcases the enchanting qualities of the glass harp.
Don’t forget to write down the Hertz of each note in your melody, so you can replicate it onto the glass harp.
Tuning the Glass Harp
Now this is the important part, tuning a glass harp requires precision and patience, as each glass produces a distinct pitch. Begin carefully pouring water from your pitcher into the first glass, and little by little start trying to make the sound, you should generally get a feel for how much you need to pour.
When you are ready to start getting the exact notes you need, open the first tuner that you find on App Store or Google Play and put it near the glass that you are testing, fine-tune by slightly adjusting the water levels. Because of the testing you did first, you probably already have a feel for how much water changes the sound. Eventually you’ll get your note right, but you have to be patient. Remember to handle the glasses carefully to avoid breakage. tune the notes by order of lowest to highest pitch for ease of use.
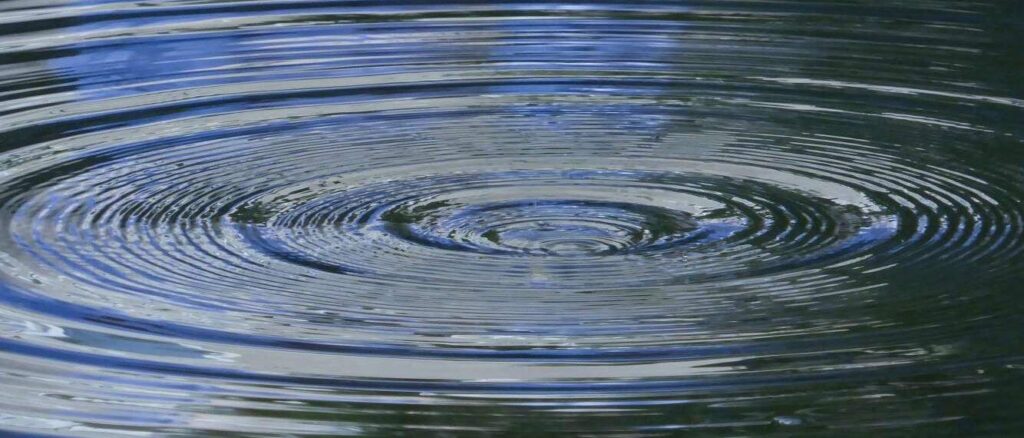
Physics behind the Sound
When you rub your finger along the rim of a wine glass, you’re essentially inducing several physical phenomena that collectively excite the glass into vibrating. These phenomena include friction, resonance, and the generation of standing waves: As your finger moves along the rim of the glass, it creates friction between your skin and the glass surface. This frictional force causes the glass to deform slightly, generating tiny waves or ripples along its surface.
The reason for wetting the finger before rubbing it along the rim of a wine glass or any glass vessel when playing the glass harp lies in the physics of friction and vibration. When you wet your finger, you create a thin layer of moisture between your skin and the glass surface. This layer acts as a lubricant, reducing the friction between your finger and the glass. As a result, your finger can glide more smoothly along the rim periodically sticking or catching and releasing, simultaneously allowing for a continuous and controlled motion.
This periodical sticking and releasing of glass causes it to deform slightly and then return to its original shape. This back-and-forth motion of the glass creates its vibration. The smoother motion facilitated by the wet finger helps to maintain a consistent and steady vibration of the glass. Thus, the micro irregularities in the rubbing motion provide vibration and affect the quality of the sound produced.
Overall, wetting the finger before playing the glass harp is a practical technique to enhance the smoothness of motion, promote consistent vibrations, and achieve a more refined and controlled sound.
Every object has a natural frequency at which it vibrates most easily. When you rub the rim of the glass, you apply force which transforms to vibration at this natural frequency, causing the glass to vibrate more strongly. This phenomenon is known as resonance. By matching the frequency of your finger’s motion to the glass’s natural frequency, you amplify the vibrations and produce a louder sound.
As the glass vibrates, it sets up standing waves inside it. Standing waves are waves traveling in opposite directions that interfere with each other, creating points of maximum and minimum displacement within the medium at constant locations. In the case of a vibrating wine glass, standing waves form along its surface and transfer vibration to the enclosed air column above the water level through the water’s surface. The frequency of these standing waves determines the pitch of the sound produced, with the length of the standing wave corresponding to the wavelength of the sound wave.
In summary, rubbing your finger along the rim of a wine glass induces a complex interplay of friction, resonance, and standing waves, ultimately resulting in the production of sound. The pitch of the sound produced by the wine glass depends on its size, shape, and the amount of water it contains. Larger glasses produce lower pitches, while smaller glasses produce higher pitches. Adding more water to a glass lowers its pitch because the water’s added mass changes the
Recording the Sounds with a Hydrophone
First of all, the equipment, for a high-quality recording you have to make sure you have the right equipment.
Generally, most of the hydrophones on the market are good, we used 4 of our home made AquaHear 1 Hydrophone paired with the RigidEnhancer Preamplifier which are both cheap and high quality. Because they are manufactured to function together, they were an easy choice for us. If you want to explore other option you could also try Jez Riely French or Aquarian Audio as they are both also solid options.
Additionally, you’ll need a mixer that could take in all the sounds and convert them to a single output. We used a mixer that we developed by ourselves. It is a passive sound mixer that is currently a part of our product line.
Finally, recording a melody on a glass harp using hydrophones is a meticulous process that requires attention to both the technical aspects of recording and the artistic expression of the performance. To begin, plan how you are going to place your hydrophone. In our case we place a rod so we can hang the hydrophone from above the glasses for optimal ease of use. It’s essential to secure the hydrophones in place to prevent any unintended movement or vibrations during the recording session. Experiment with various placements to find the sweet spot where the hydrophones can best capture the rich, crystalline tones of the glass harp and make sure that the hydrophone touches the internal surface of the glass, so the sound quality is better.
Once the hydrophones are set up, adjust the levels and settings on your recording equipment to achieve a balanced sound. Pay close attention to the sensitivity of the hydrophones and adjust the gain accordingly to avoid clipping or distortion.
With the technical aspects in place, it’s time to focus on the performance itself. Play the melody calmly, allowing each note to ring out clearly and melodically. Explore the full range of dynamics but, don’t feel pressured to get it perfect at first, you should test and change a little, try different hand positions and different paces. Take advantage of the glass harp’s unique timbre and ethereal quality to infuse the melody with a sense of enchantment and wonder.
If something goes wrong, don’t panic. Make adjustments as need, try to make it as convenient as possible for you to play smoothly, and ensure that the recording reflects the true essence of the instrument’s captivating sound. By combining technical precision with artistic sensitivity, you can create a recording that showcases the exquisite beauty of the glass harp for listeners to enjoy and appreciate.
Most Important Thing
Usually we get so deep into the process that when we stumble upon a problem or an obstacle we get mad and make a mental barrier that prevents us from moving on and overcoming the obstacle.
So be mindful of that, try to enjoy every part of the experiment, from start to finish. When you feel that you are getting lost in your own thoughts, take a break, make yourself a nice coffee with a cookie, I can ensure you it helps. Overall just try to enjoy the process more than getting frusturated because of some stupid mistakes.